Create a Tag
From the Workforce page we create a Tag.
Create a new Tag by clicking:
- Tag
- New Tag

Creating a Tag
Name the Tag. We will call this client ABC.

Naming a Tag
If we go View, then Tag we currently see that ABC has no Crew in it.

To add Crew to the Tag:
- Select the Crew
- Click Tag
- Add to tag.

Adding Crew to Tag
Click ABC and a warning dialogue box appears asking you to review your selection.
Click YES and the Crew are added to the ABC Tag.

Warning Dialogue Box
So now if we view the ABC Tag and click on it then we will see that the Crew have been added.

Crew Added to Tag

ABC Crew
To share this page with a client press:
- Tag
- Tag Share Page.

Tag Share Page
The share page appears with the ABC Tag team.

Share Page
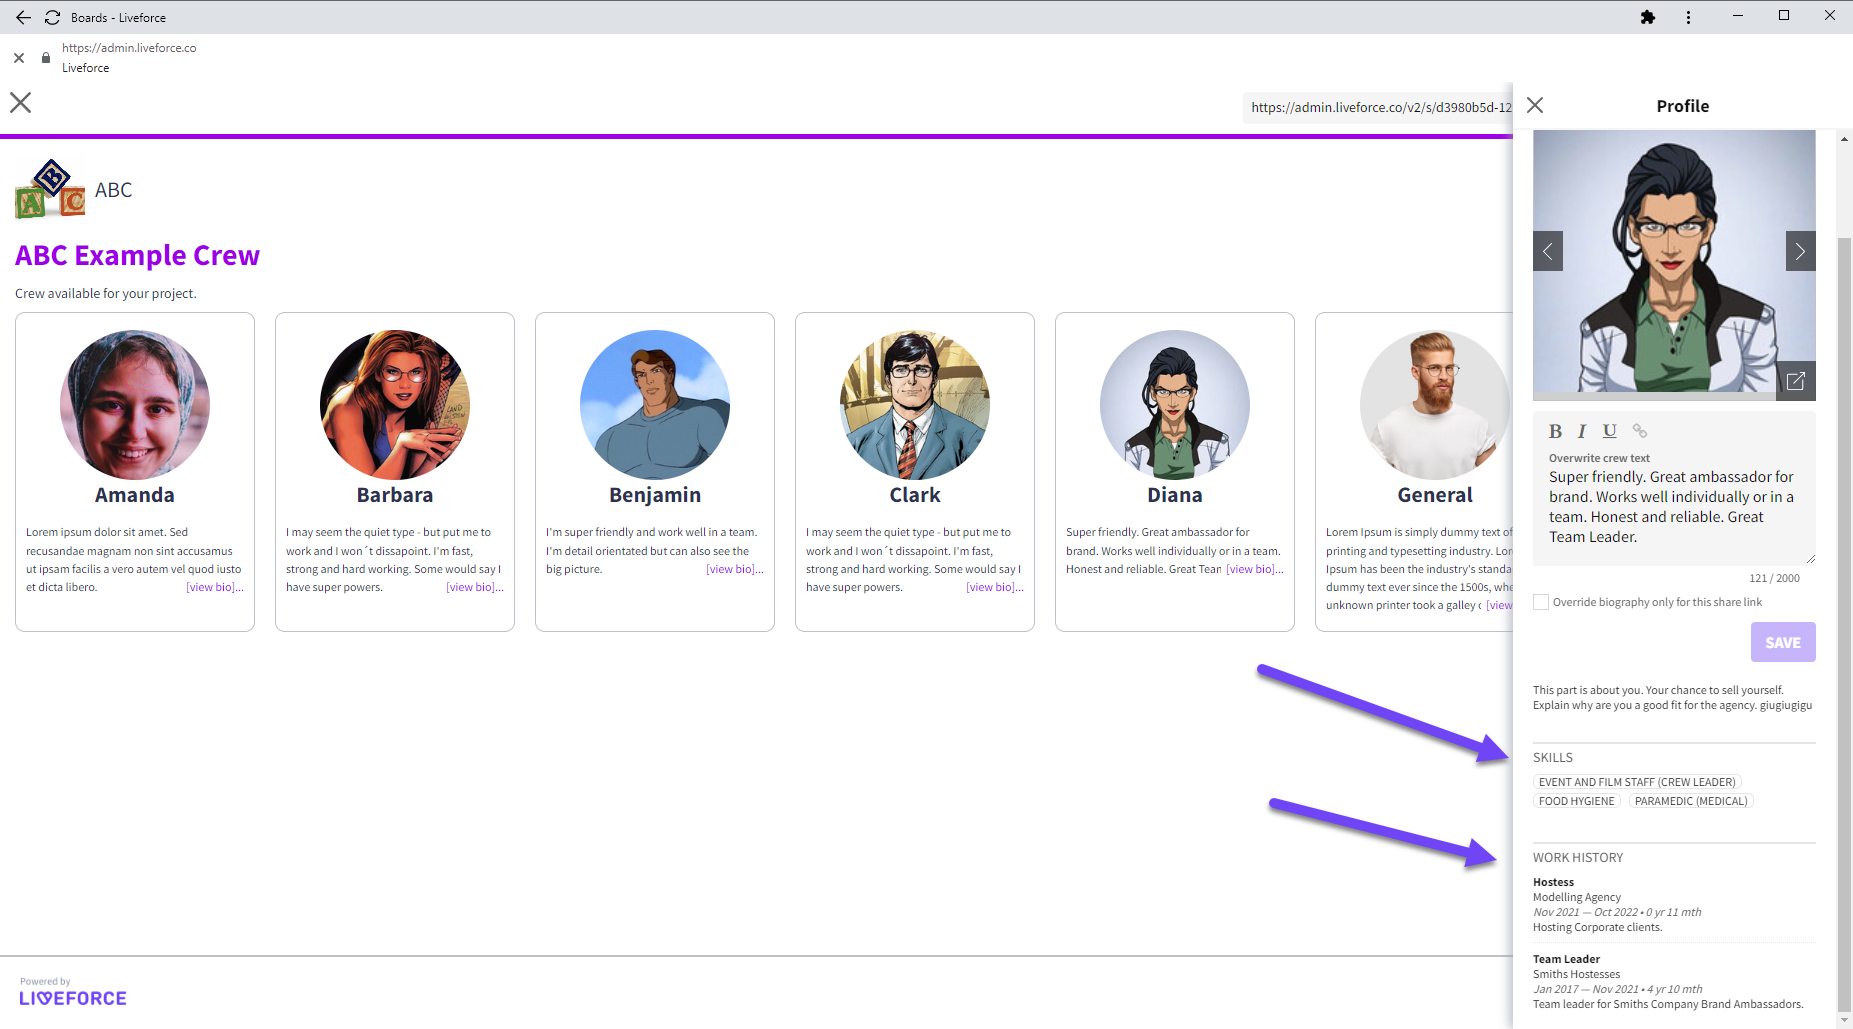
Now before we send this off to the client there are a few things we can do if we need to make it more presentable.
- We can add to the Crews bio if we want.
- We can click this box to override the Crews bio for this share link only.

Adding to the Crews BIO
We can also show photos of the Crew that we think are relevant to the client by clicking this show image box.
Once finished:
- Click SAVE to save our photo edits
- SAVE to save our BIO edits and the Popin closes

Adding Photos
Next we click SETTINGS.

Settings
The Link sharing button is on by default but that can be switched off.
Here we can add:
- A Title and description for the Share page.
- The clients logo and your logo if you want to and we’ll see where these appear shortly.
- The clients brand colours or your brand colours.

Settings Popin
You can also add the Crews skills and/or work history if you think this would be beneficial.
Click done when finished.